Search K
Appearance
Appearance
系统类型:linux
查看内核 
在下面这个网站找到想要的版本 https://repo.anaconda.com/archive/
下载安装脚本 Anaconda3-2024.02-1-Linux-x86_64.sh(这个自己选择 wget https://repo.anaconda.com/archive/Anaconda3-5.3.0-Linux-x86_64.sh
给安装脚本执行权限 chmod +x ./Anaconda3-2024.02-1-Linux-x86_64.sh
安装执行 ./Anaconda3-2024.02-1-Linux-x86_64.sh 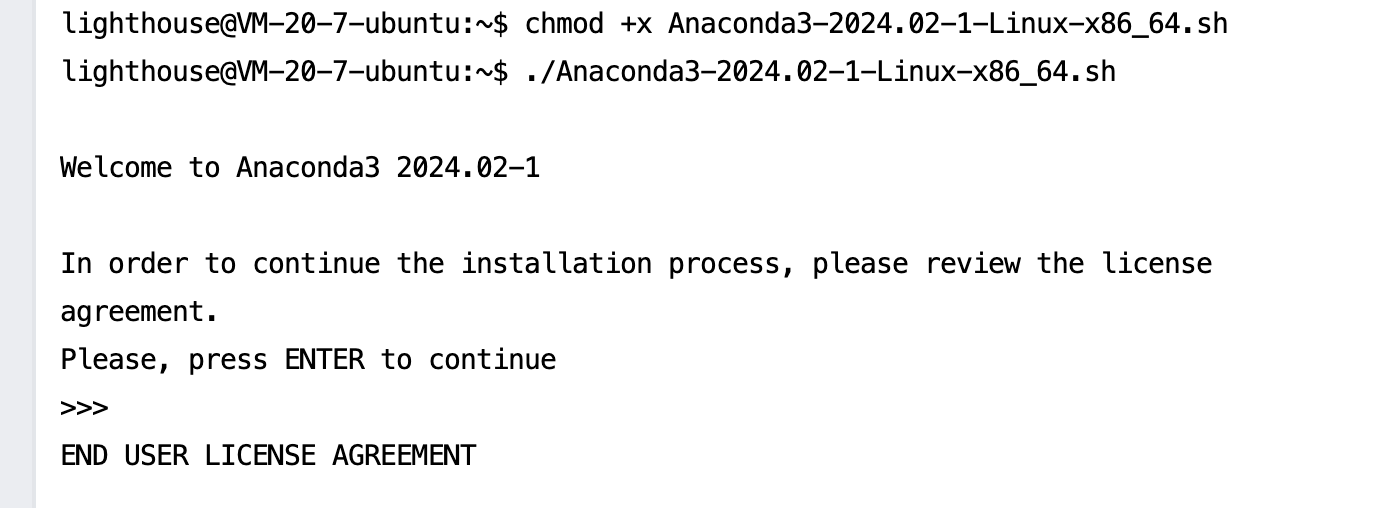
点回车键,会出现 more 等信息,一直点回车,直到出现输入 yes 或者 no 
输入 yes,正式安装 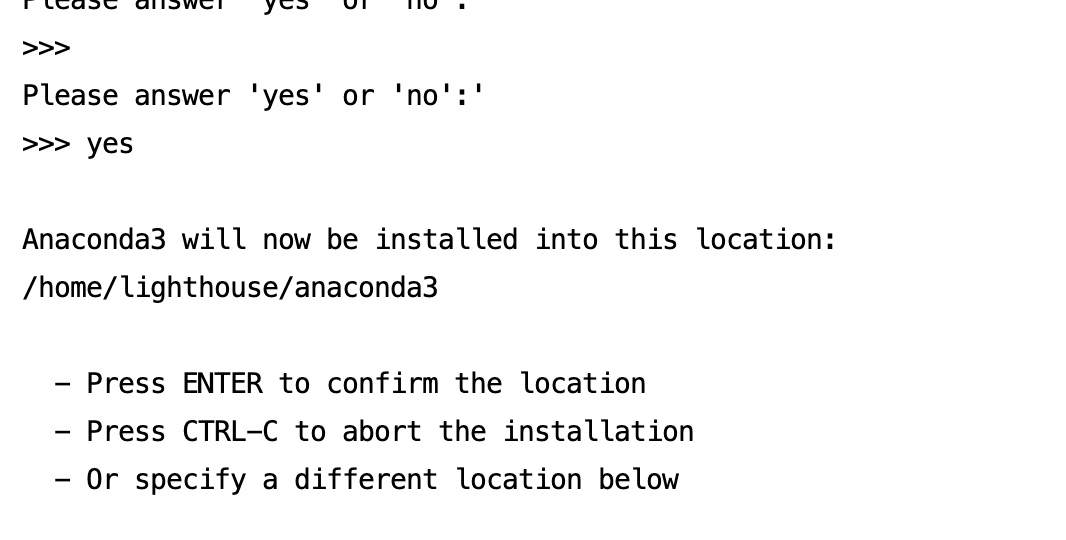
初始化环境变量,选择 yes 默认配置,选择 no 的话需要自己配置 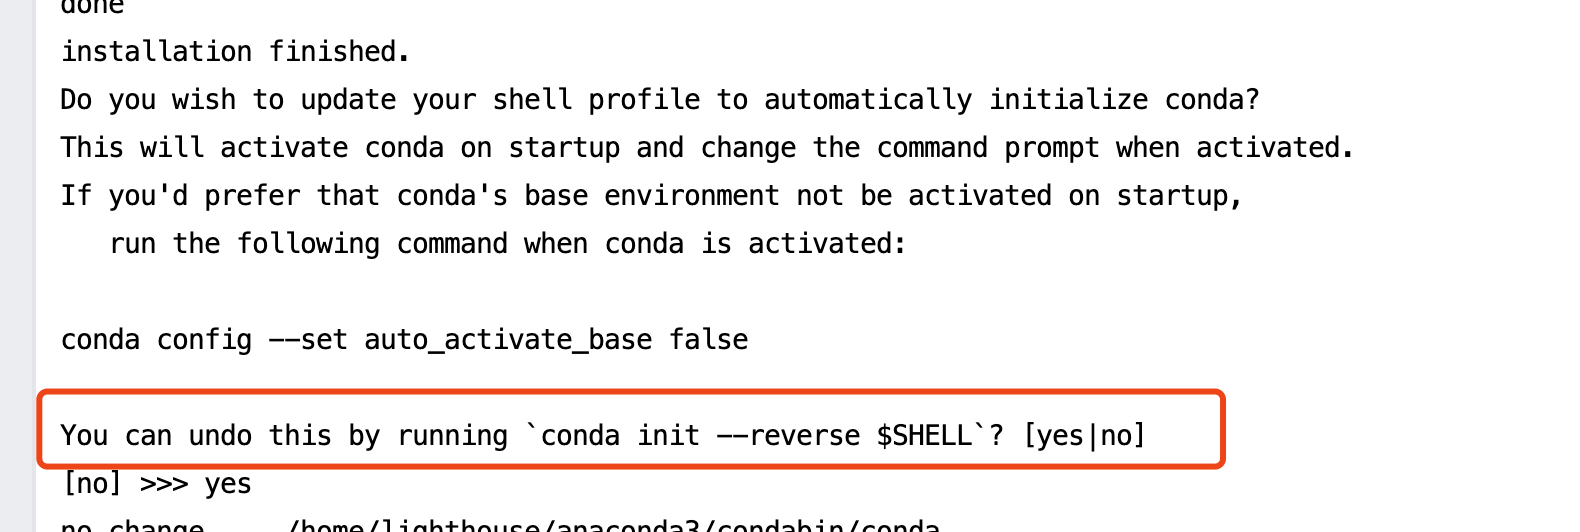
检查是否安装成功 ,重新打开一个命令行页面,或者使用 source 执行一下,然后输入 conda -V 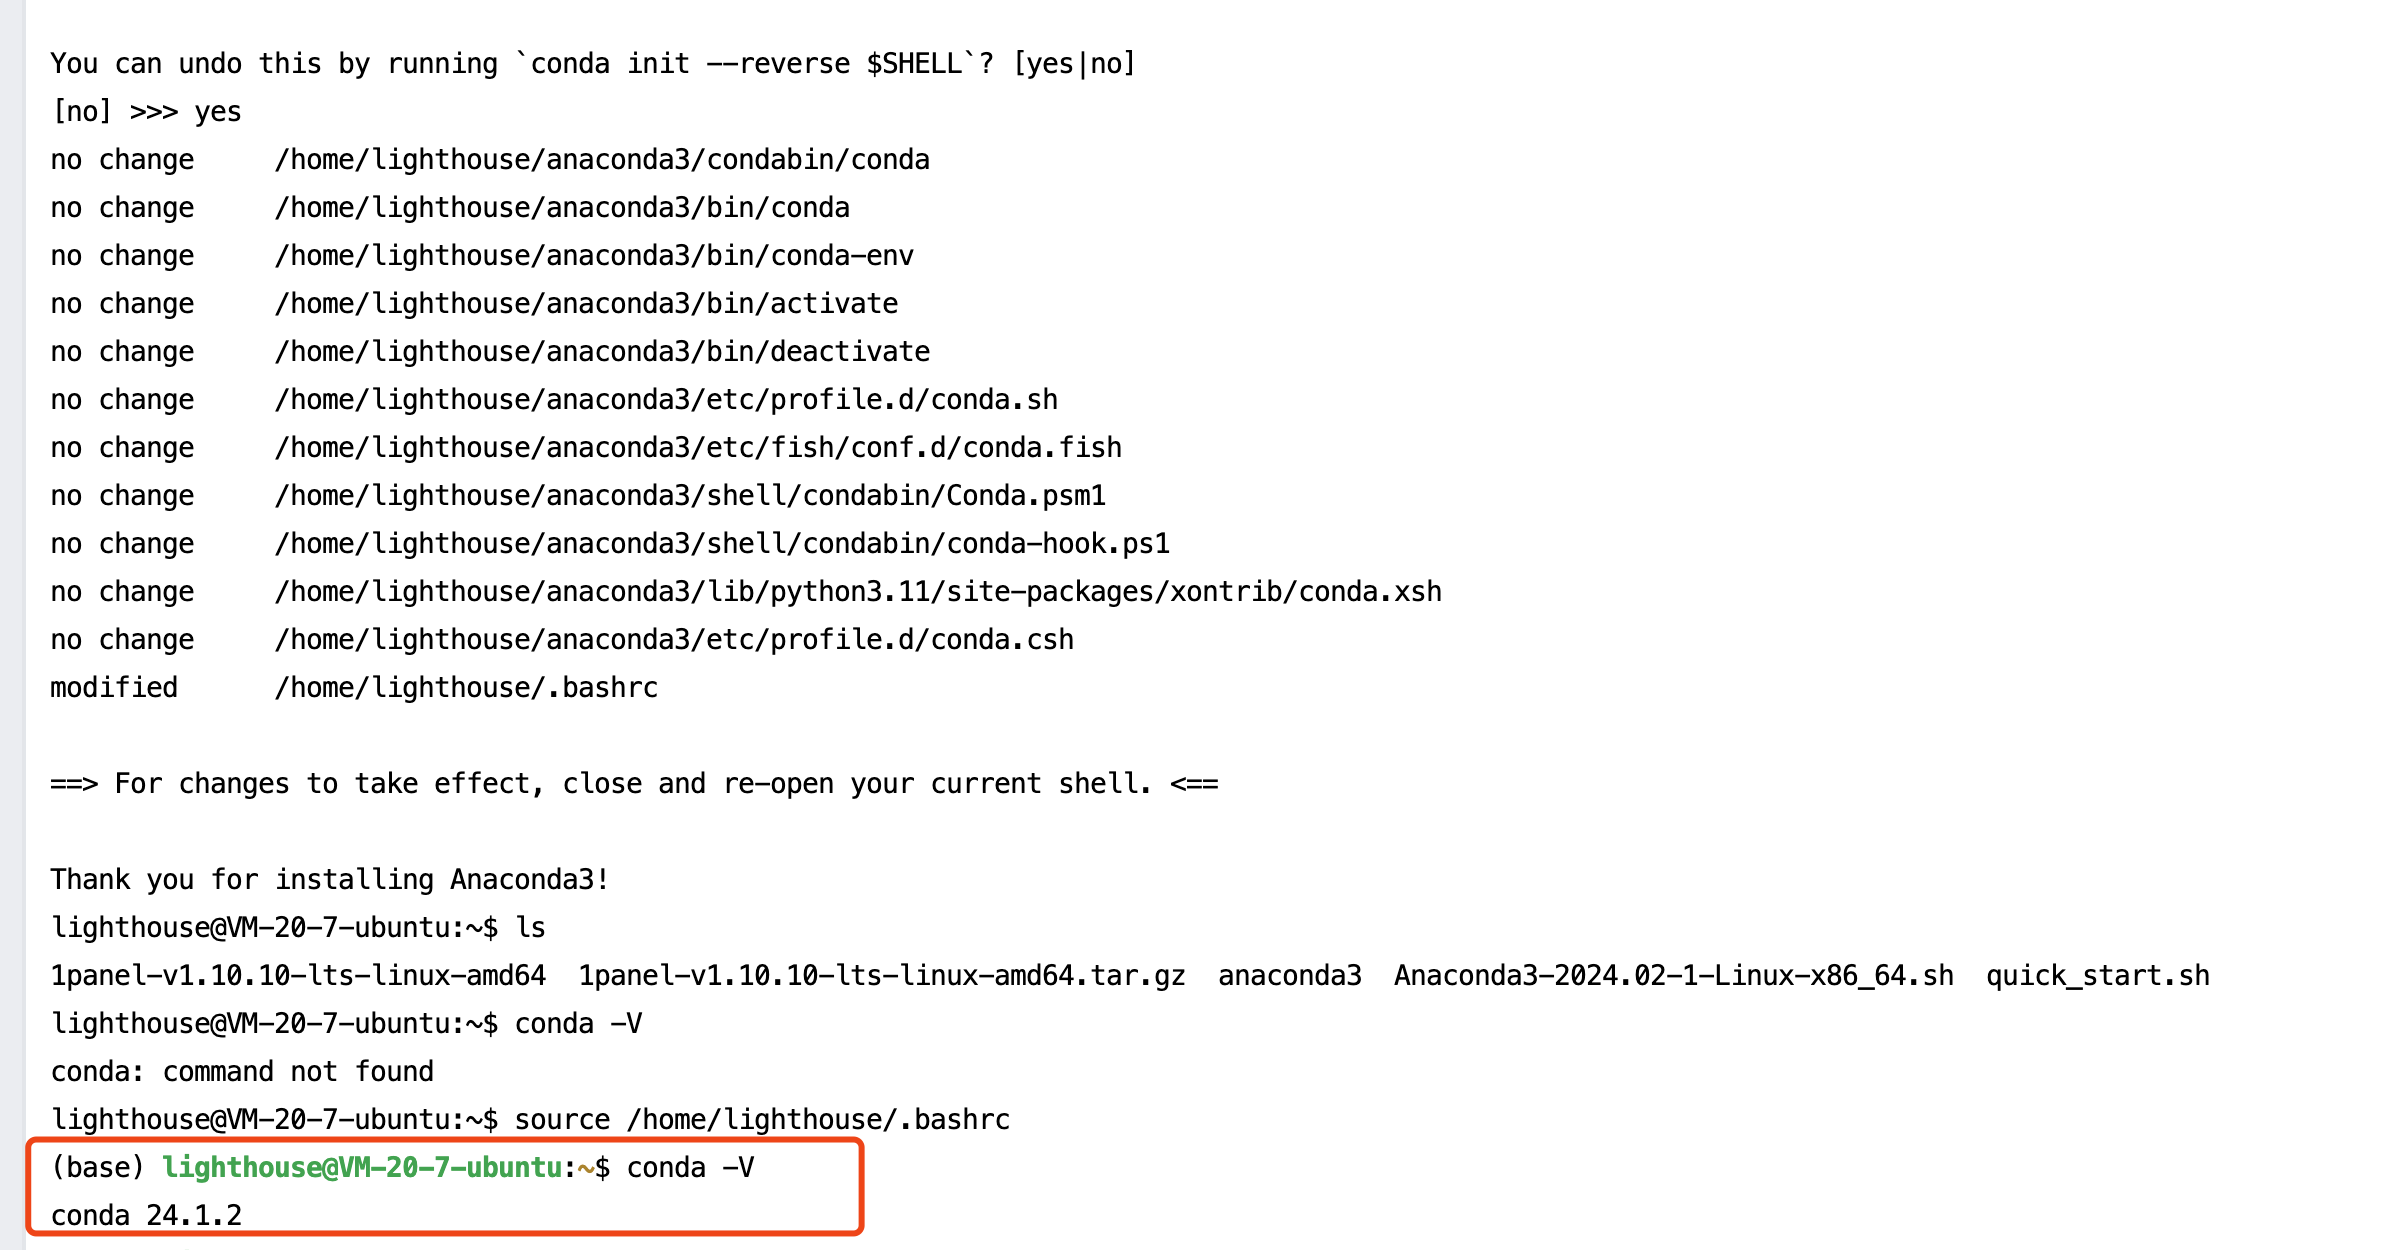
conda install jupyter notebook -vjupyter notebook --generate-config
vi ~/.jupyter/jupyter_notebook_config.py在该文件中做如下修改或直接在文件尾端添加:
c.NotebookApp.allow_remote_access = True #允许远程连接
c.NotebookApp.ip='\*' # 设置所有 ip 皆可访问
c.NotebookApp.password = 'xxxxxx' #哈希格式的密码
c.NotebookApp.notebook_dir = /home/lighthouse/.jupyter/myjup # 启动的默认目录(建议填写绝对路径)
c.NotebookApp.open_browser = False # 禁止自动打开浏览器
c.NotebookApp.port =8888 #任意指定一个端口jupyter notebooknohup jupyter notebook >~/jupyter.log 2>&1 &